I just signed up — what do I actually do first?
Build the website. Everything else can wait.
Plan: All plansWho: Everyone
You are already live. The moment you signed up, Rennt gave you a working storefront with a booking system on it — you do not have to switch anything on.
So your real job on day one is short: make it look like your business, and put one real product on it.
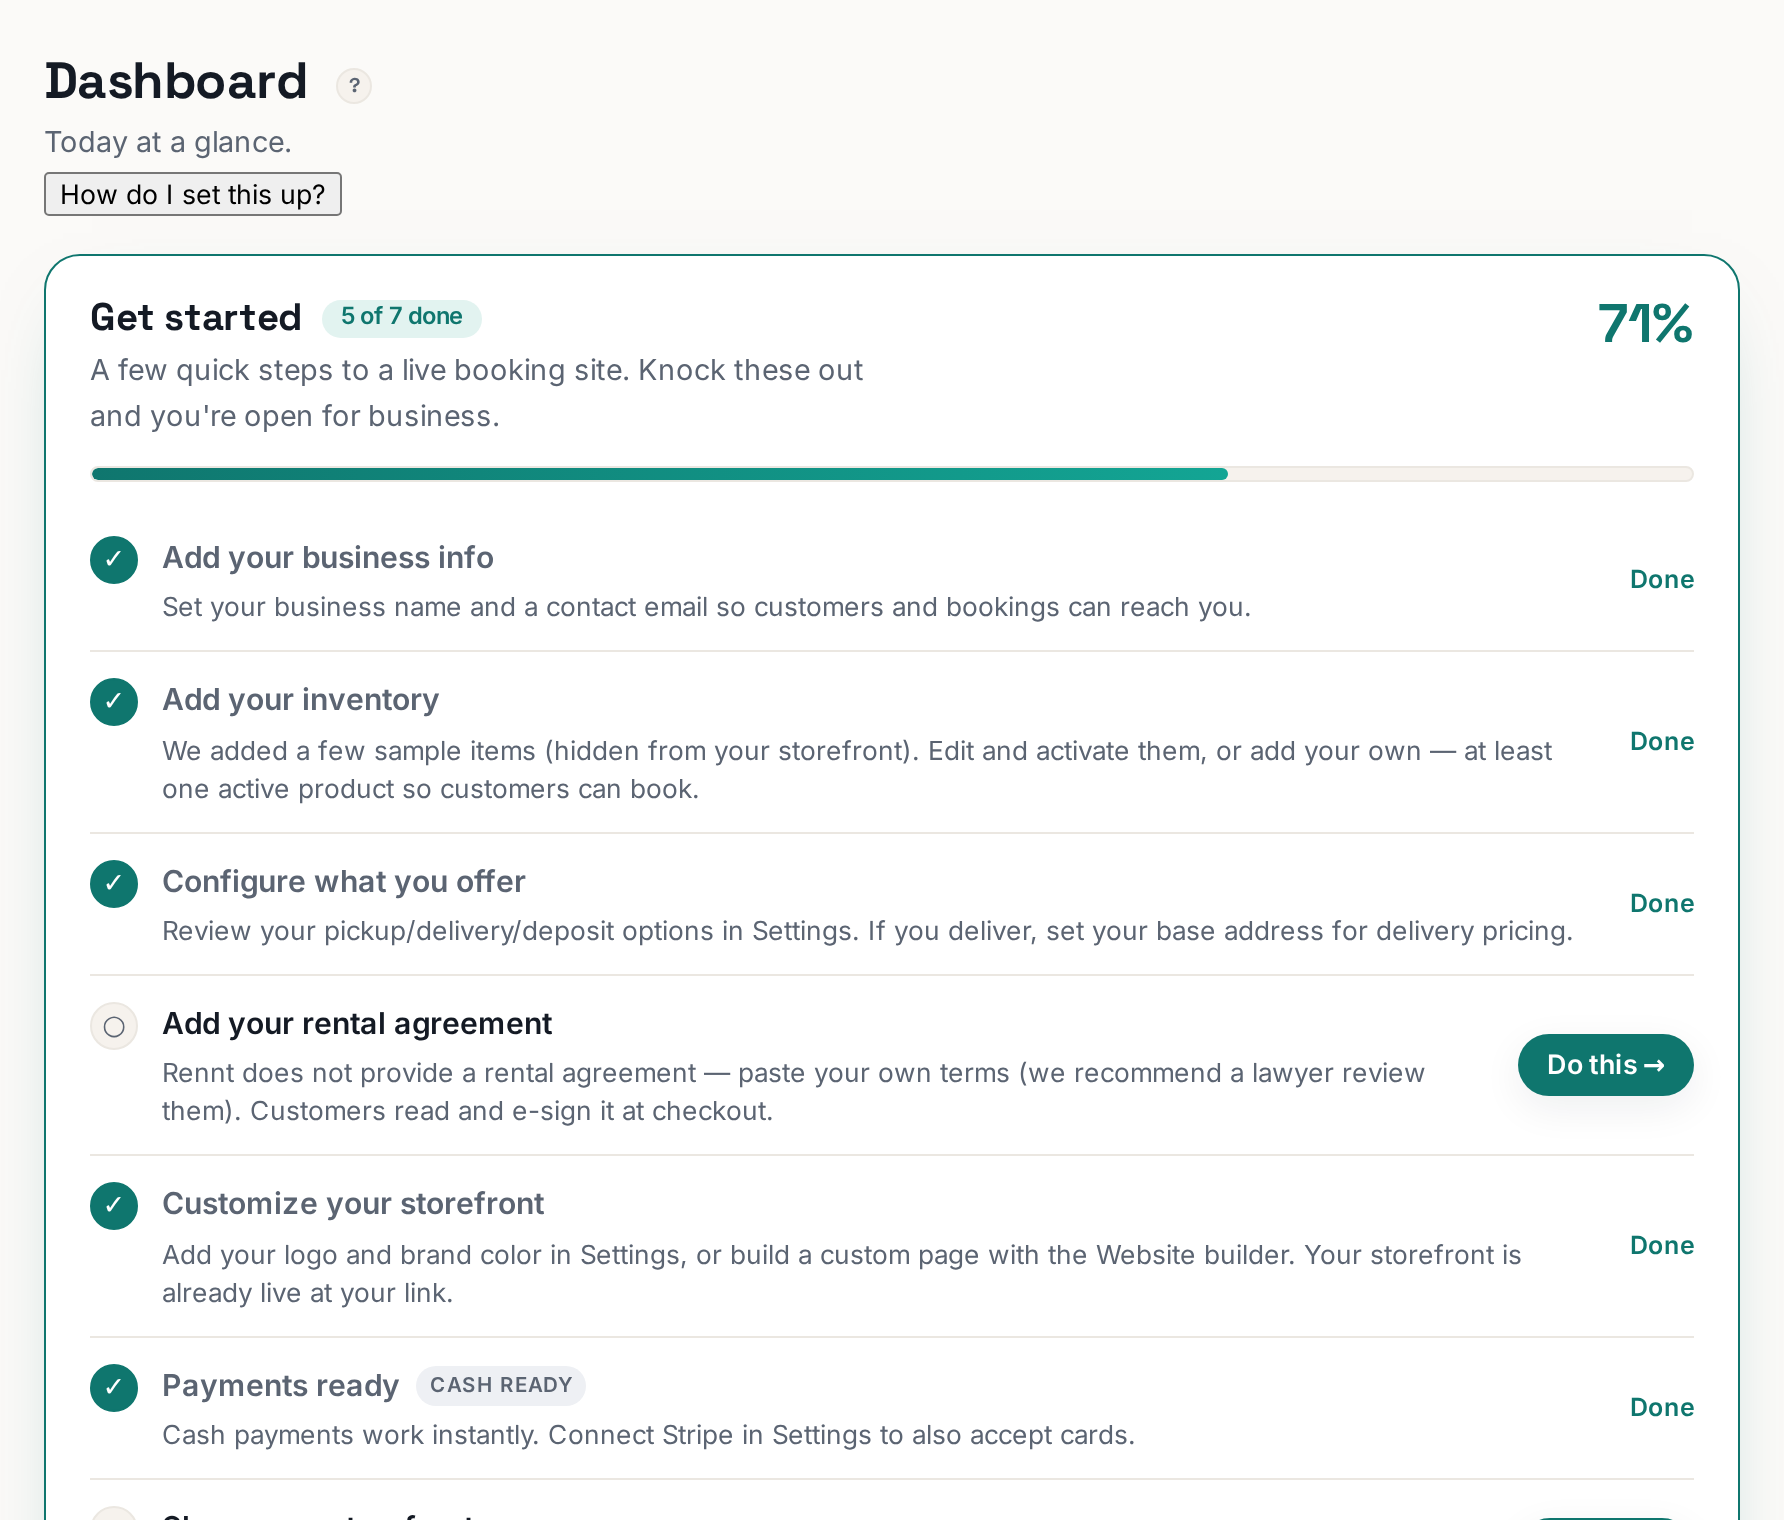 Tap to enlarge
Do these, in this order#
- Build your website. Click Website at the top of the left menu (it has a "Start here" badge). Describe your business in a sentence or two and the AI builds the whole site — hero, sections, copy — around your catalog. Takes a couple of minutes.
- Put one real product up. Open Inventory. We seeded a few sample items, and they are deliberately switched OFF so a placeholder never reaches a customer. Either edit one into a real product, or click Browse product library and import from ~50 ready-made items with prices already filled in. Set your price and quantity, then flip the green Active toggle on.
- Set your contact details. Open Settings → Business info. Your business name and a contact email — this is where booking notifications land, so a typo here means you miss orders.
- Add your rental agreement. Rental agreement in the left menu. Paste your own terms. Rennt does not write these for you on purpose — they are a legal document specific to your business and state, and we recommend a lawyer reviews them.
- Share your link. Click View storefront at the top right. That URL is your booking link. Put it in your Instagram bio and reply to "how much?" texts with it.
★
The fastest path to your first booking is step 5, not a perfect site. A plain storefront that people can actually find beats a beautiful one nobody has the link to.
What you can safely ignore for now#
Dispatch, Check-in/out, Analytics, SEO, Quotes, Reviews, Team. They are real tools and you will want some of them later. None of them get you your first booking. If they are cluttering your view, flip the toggle at the top of the menu to Simple.
More in Getting started
Simple mode vs Advanced mode — which should I use?Simple shows 6 things. Advanced shows everything. Switch any time.Where do I find my booking link to share?View storefront (top right) — that URL is your booking link.What if I get stuck?Every tab has a step-by-step guide. Then the chat. Then a human.Signing up: Google or email?Both get you the same account — how to pick, and how to avoid the classic login mix-up.The guided tour — and how to run it againA short walkthrough of every part of the dashboard. Re-run it any time from the Dashboard.