Categories: organizing your storefront
Group products into sections customers can filter. Where to create them and how to name them.
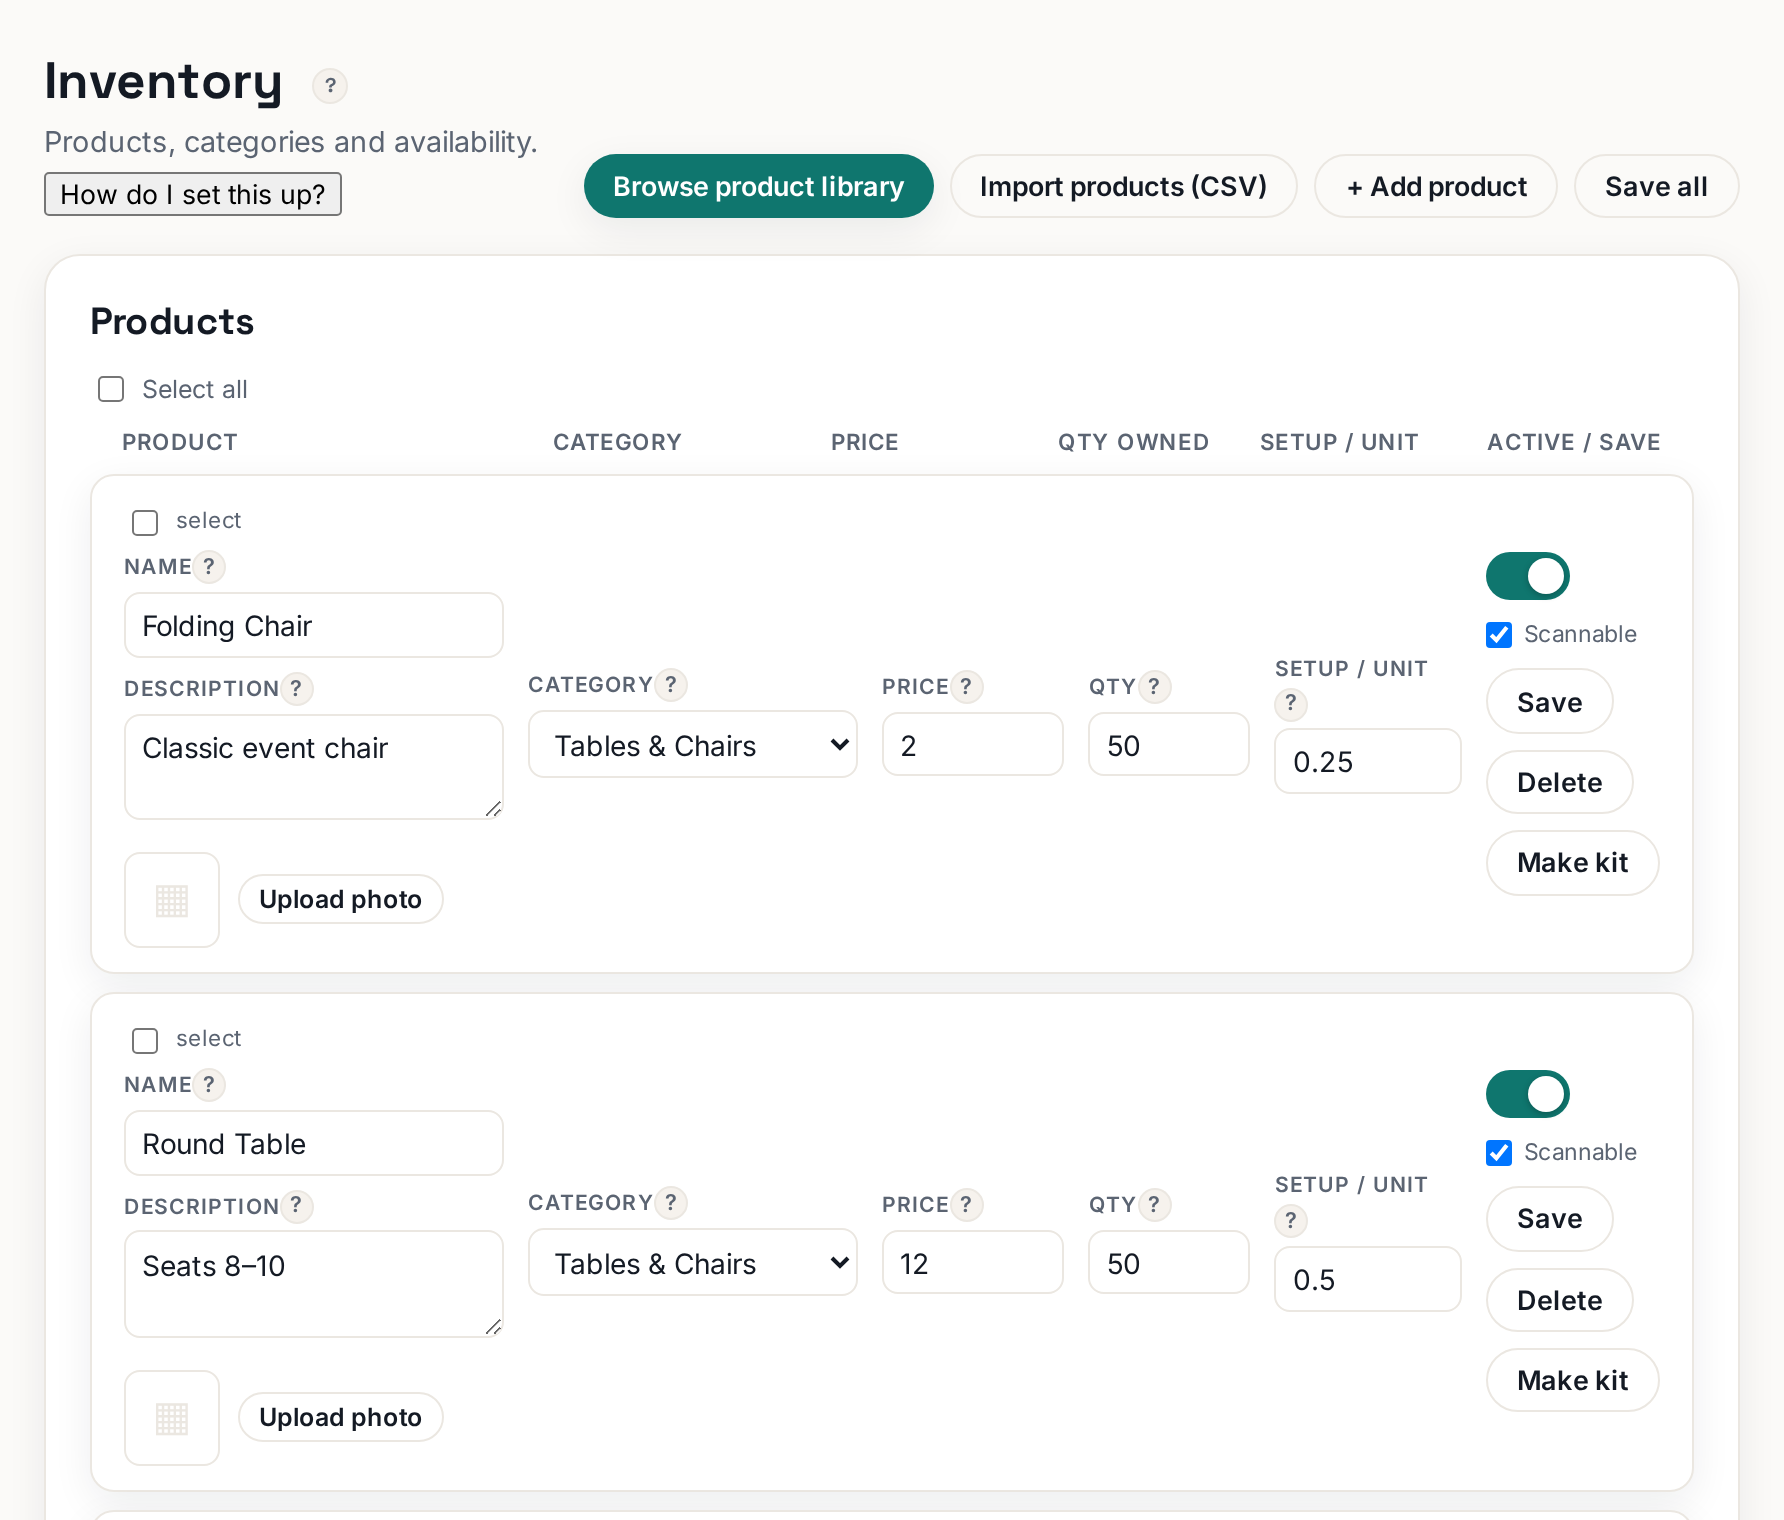
Categories group your products into sections customers can filter — "Bounce Houses", "Tables & Chairs", "Concessions". On the storefront they appear as chips across the top; one tap shows just that group. With more than about ten products, categories are the difference between a shop and a pile.
 Tap to enlarge
Creating categories#
Scroll below your product list to the Categories panel (Advanced mode — in Simple, click Show more options). Type a name and click + Add category. Then assign products: every product row has a Category dropdown.
Naming that works#
- Use the words customers search, not warehouse jargon: "Tents & Canopies", not "20x series frame units".
- Keep it to 4–8 categories; twenty chips is as useless as none.
- Singular vs plural does not matter — clarity does.
Categories create themselves on import#
The CSV importer and the product library both fill in categories automatically — imported items carry a category name, and any name that does not exist yet is created on the spot. Rename or tidy up afterwards in the same panel.