Connecting your own domain (GoDaddy, Namecheap)
Put your storefront on a domain you own. Two clicks in Rennt, one record at your registrar.
On Pro you can put your storefront on a domain you own — rentals.yourbusiness.com or yourbusiness.com — instead of the rennt.app address. The Rennt side is two clicks; the rest happens at the company where you bought the domain.
In Rennt#
Open the Custom domain tab, type your domain, click Add domain. Rennt then shows you the exact DNS record(s) to create — the type, the host name and the value. Keep this screen open.
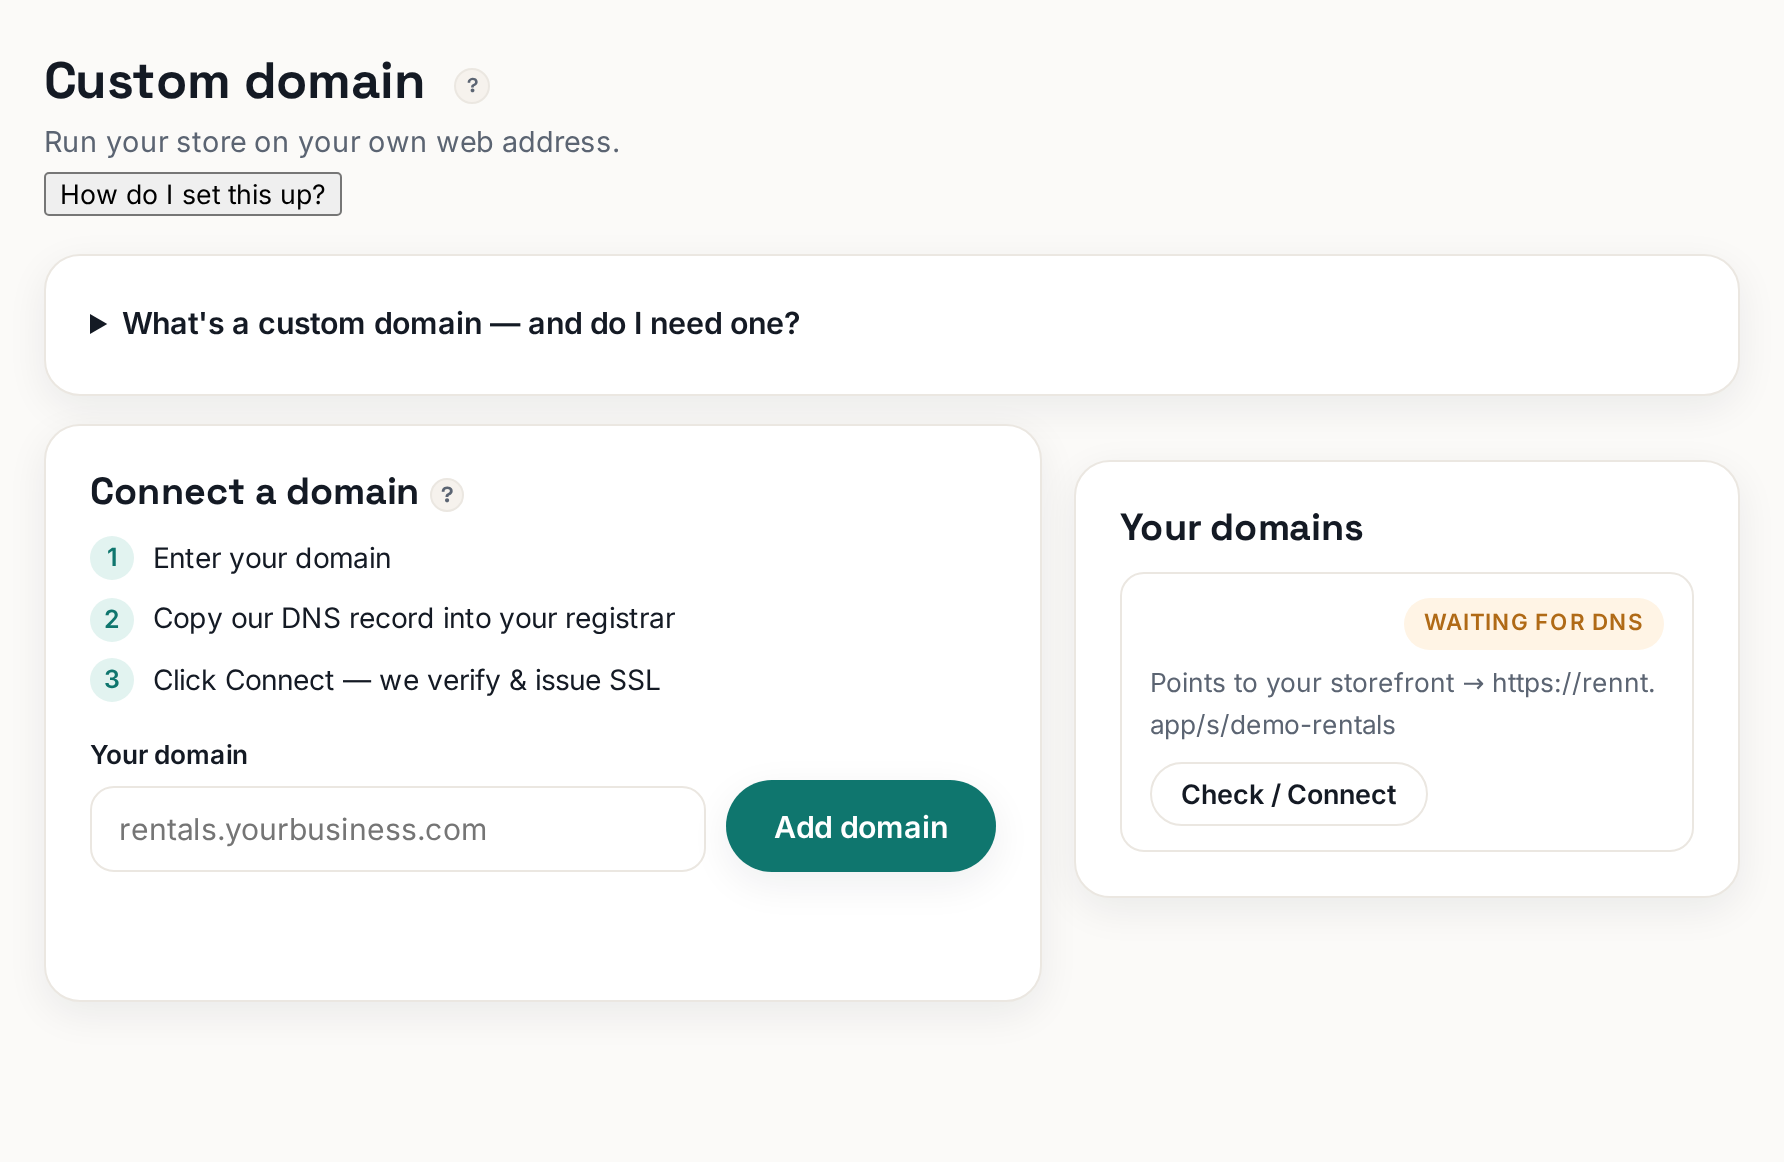 Tap to enlarge
At GoDaddy or Namecheap, in plain words#
DNS is your domain's address book — each record is one line saying "this name points there". You are adding one line.
- Log in at your registrar and find the DNS settings for your domain (GoDaddy: My Products → your domain → DNS. Namecheap: Domain List → Manage → Advanced DNS).
- Add a record with exactly the type, host and value Rennt showed. Copy-paste; a single typo is the #1 failure.
- Save. You do not need any other product they offer you along the way — no hosting, no email upsell.
Back in Rennt#
Return to the tab and click Finish connecting (or Check / Connect on the domain under Your domains). Once the record is visible, the domain verifies and Rennt issues the security certificate (the padlock) automatically. This takes minutes to a few hours — see the domain-not-verifying article if it drags on.